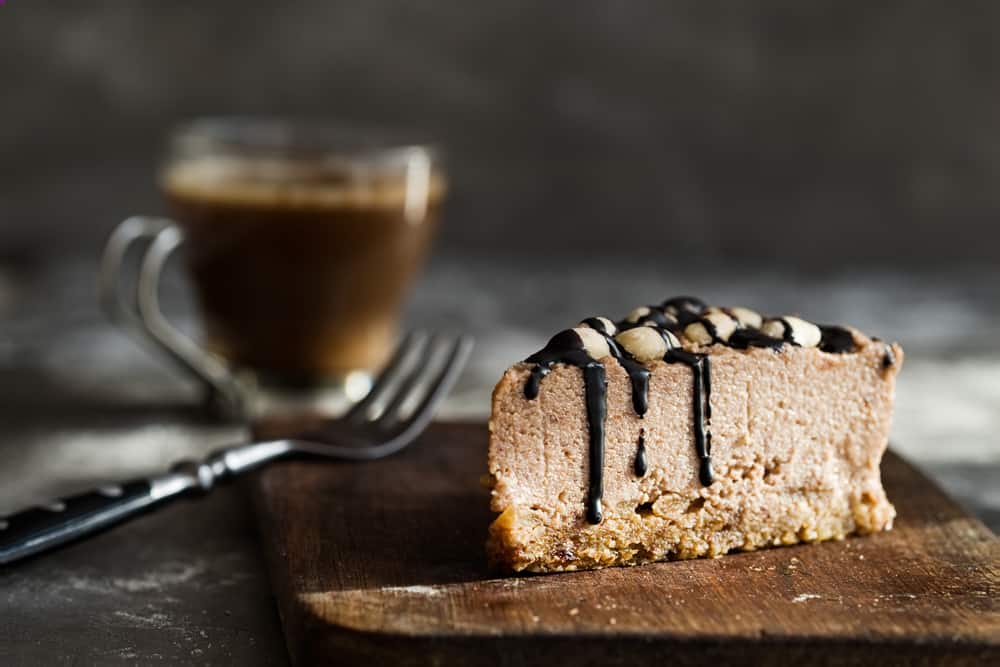
We are quickly approaching the holiday season. Halloween, Thanksgiving, and Christmas are just around the corner, and if you’re like us, you’ve got one thing on your mind: holiday baking! We love to incorporate cashews in just about everything we make, and the best way to do that is by purchasing bulk cashews for all your holiday baking needs. We think you’ll love these recipes so much that they’ll be staples.
Cashew Butter Cups
We love cashew butter from bulk cashews, and for this recipe, you could make your own (we love doing this!), or you could buy already made cashew butter. Either way, you won’t go wrong with this recipe for Cashew Butter Cups. With just five simple ingredients, you’ll be able to whip these up in no time, anytime you want. And, for those who are vegan, you won’t have to adjust a thing for this cashew dessert recipe.
Ingredients:
- 7 oz. chopped dark chocolate or chocolate chips (vegan if needed)
- 1 Cup cashew butter
- 2 TBSP maple syrup
- 1 TBSP vanilla extract
- 1 pinch of sea salt
- (optional) flaky sea salt to top
Instructions:
- Line a 12-cup muffin tin or a 24-cup mini muffin tin with liners.
- Place two-thirds of the chocolate in a pan over low heat. Once it is shiny and looks mostly melted, remove it from the heat. Add the remaining chocolate and stir a few times while the residual heat melts the remaining chocolate chips.
- Working one at a time, add slightly less than a tablespoon of the melted chocolate to one of the cupcake liners. Tip it on its side and rotate it so that the chocolate comes 1/3 of the way up the side of the liner. Repeat until all the liners have a chocolate coating, then place them in the refrigerator to harden.
- Add the cashew butter, honey, vanilla, and salt to a medium-sized bowl, and gently fold them together. Once the chocolate cups have hardened, divide the cashew butter mixture evenly between the cups. Use your finger to press it down into the cups.
- Pour the remaining chocolate over the tops of the cashew butter cups, then put them back into the refrigerator to harden.
- Sprinkle a little flaky sea salt on top to make the flavors really pop.
Chocolate Cashew Cheesecake (No-bake!)
Whether or not you’re vegan, this is a great recipe to have in your arsenal when needing to use up bulk cashews. Not only is this version of a traditional cheesecake absolutely delicious, but it’s also healthier, and, did we mention, you don’t have to bake it! That’s a win-win-win!
Ingredients for the base:
- 1 Cup cashews
- ½ Cup pitted dates
- 1 TBSP raw, unsweetened cocoa powder
- 2 TBSP coconut oil, melted
- 1 pinch sea salt
Ingredients for the filling:
- 2 Cups cashews, soaked
- ½ Cup full-fat coconut milk,
- ½ Cup maple syrup
- ½ Cup coconut oil, melted
- 1 pinch sea salt
- 3 TBSP raw, unsweetened cocoa powder
Instructions:
- Line a 9-inch round baking pan or dish with cling wrap and set aside
- Place 2 cups of cashews in a medium bowl, cover cashews with water and leave to stand overnight or at least 3 hours. Drain the water, and rinse the cashews well before use.
- For the base, place 1 cup of non-soaked cashews into a food processor and pulse a few times until the mixture looks crumby. Add the pitted dates and pulse again. Add the cocoa powder, melted coconut oil, a pinch of salt, and pulse several more times. The mixture should have some texture in it, but the ingredients should be uniformly incorporated.
- Press the base mixture into the lined baking pan, then place it in the refrigerator to set.
- For the filling, place soaked and drained cashews into a food processor along with coconut milk, maple syrup, and sea salt. Blend well. While still blending, add melted coconut oil and continue blending until smooth and silky.
- Pour half of the filling into a separate, clean bowl. Add cocoa powder to the remaining mixture in the food processor. Blend the cocoa powder into the mixture.
- Pour the plain cashew filling from the prepared, chilled base. Smooth with a spatula and put back into the refrigerator to set for about 2 hours.
- Once set, add the remaining layer of cocoa-cashew filling on top of the plain filling, and place in the refrigerator until set, about 2 hours. Remove from refrigerator 20 minutes prior to serving.